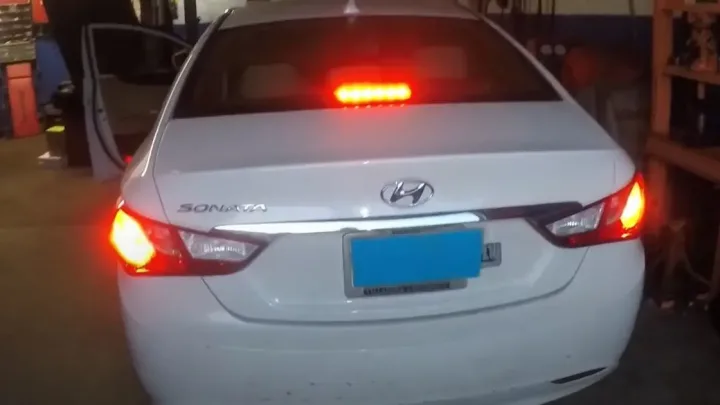
To fix stuck brake lights, check the brake light switch and clean the light sockets. Ensure wiring connections are secure and undamaged.
Brake lights are crucial for road safety, signaling drivers behind you when you're slowing down or stopping. Yet, many drivers face the issue of stuck brake lights, which can lead to dangerous driving conditions and misunderstandings on the road. Addressing this problem promptly is vital.
This guide focuses on five quick fixes that can help restore your brake lights to proper function. With a clear, step-by-step approach, these solutions are designed for anyone to follow, ensuring you get back on the road safely and efficiently. Remember, regular maintenance and checks can prevent such issues, keeping your vehicle's lighting system in top shape.
Introduction To Brake Light Issues
Brake lights are crucial for road safety. They signal drivers when a vehicle is slowing down or stopping.
Stuck brake lights can lead to dangerous driving situations. Quick fixes can often solve these issues.
Common Symptoms Of Stuck Brake Lights
- Lights stay on - The brake lights remain lit, even when not braking.
- No response - Pressing the brake pedal does not activate the lights.
- Dim lights - The brake lights appear unusually dim or flicker.
Safety Concerns With Malfunctioning Brake Lights
Increased accident risk is the main concern. Non-functional brake lights mislead other drivers. This miscommunication could lead to rear-end collisions. Prompt repair is essential.
 Troubleshooting The Brake Light Switch
Troubleshooting The Brake Light Switch
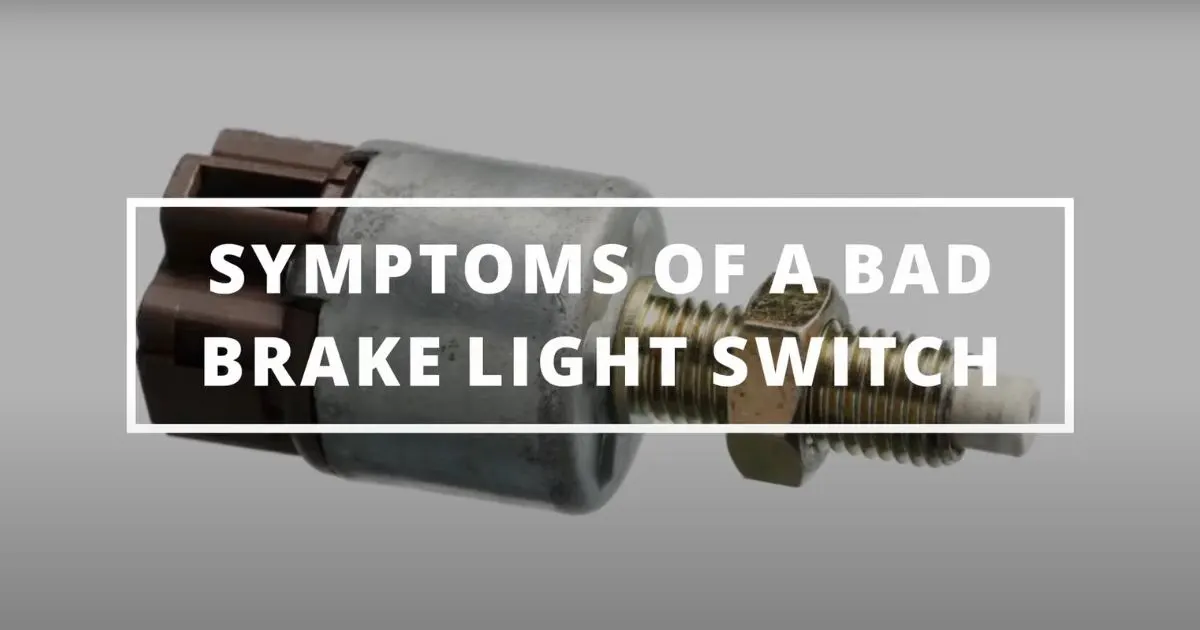
Brake lights stuck on can be a real headache. Often, the issue lies with the brake light switch. This switch activates your brake lights when you press the pedal. If it's not working right, your brake lights might stay on. Let's troubleshoot the brake light switch with some quick fixes.
Locating The Brake Light Switch
First things first, find the switch. It's usually near the brake pedal. Look under the dashboard, where the pedal arm meets the car's body. You'll see a small box with a plunger-type switch. That's your target.
Adjusting The Switch For Proper Contact
Got the switch? Great. Now, let's adjust it. It should touch the pedal arm. When the pedal moves, the switch activates. Sometimes, it gets out of position. Here's how to fix it:
- Turn off your car for safety.
- Loosen the lock nut on the switch.
- Adjust the switch by twisting it.
- Press the brake pedal, check the lights.
- Tighten the lock nut once it's right.
Done right, your brake lights should work only when you press the pedal.
 Checking For Faulty Wiring
Checking For Faulty Wiring
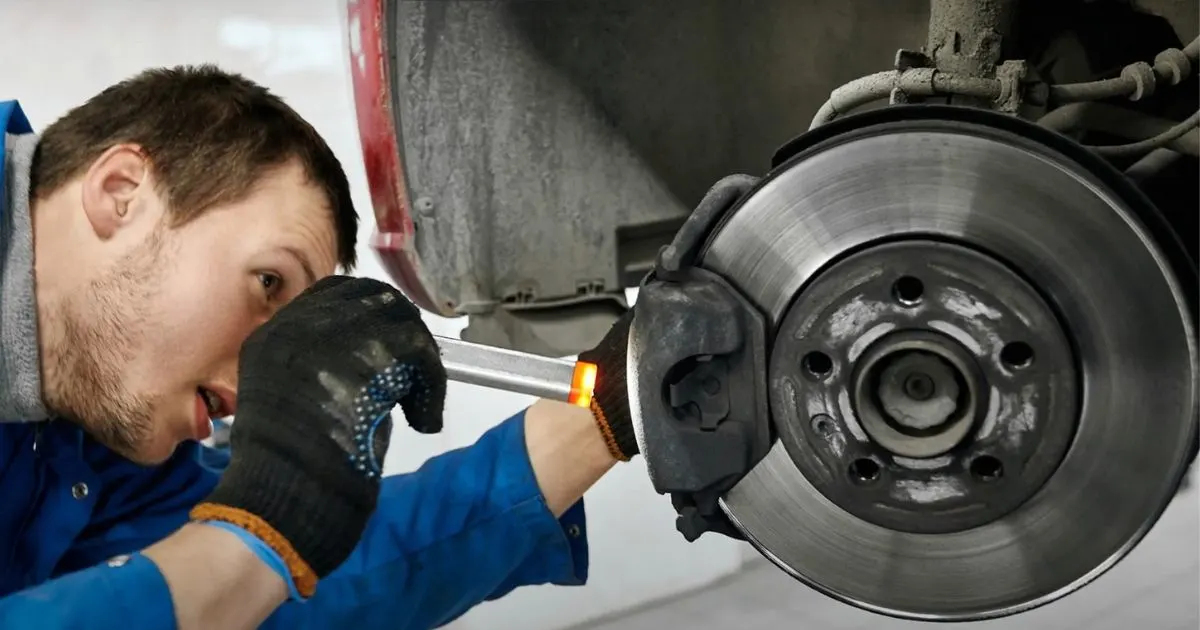
Stuck brake lights often stem from wiring issues. Over time, wires can fray, corrode, or disconnect. Let's dive into how to spot and fix these problems.
Identifying Wiring Issues
Begin by locating your vehicle's wiring diagram. It shows where each wire should go. Look for wires that are exposed, corroded, or not connected. These are signs of trouble. Use a multi meter to test for continuity. A lack of continuity suggests a break in the wire.
- Check the wire's color against the diagram.
- Follow the wire's path for any damage.
- Use a multimeter for electrical tests.
Repairing Or Replacing Damaged Wires
If you find damaged wires, repair or replace them. For minor damage, electrical tape can work. For more severe issues, replacing the wire is better.
- Turn off the car's power.
- Disconnect the battery.
- Cut out the damaged section.
- Strip the wire ends.
- Connect new wire with crimp connectors.
- Wrap with electrical tape for protection.
- Test the repair with the multimeter.
Fuse Inspection And Replacement
Fuse Inspection and Replacement is a quick fix for stuck brake lights. A bad fuse can cause brake lights to stay on. Replacing it might solve the problem. Let's learn how.
Locating The Brake Light Fuse
First, find your car's fuse box. It's usually under the dashboard or near the engine. Look for a cover labeled "Fuses." Open it. Inside, find the fuse diagram. It tells you which fuse is for the brake lights.
Steps To Replace A Blown Fuse
- Turn off your car.
- Find the brake light fuse using the diagram.
- Remove the old fuse. Use fuse pullers or tweezers.
- Check the old fuse. A broken wire inside means it's blown.
- Get a new fuse with the same amperage.
- Insert the new fuse into the slot.
- Turn on your car. Check the brake lights.
Replacing a blown fuse is easy. Always use the right amperage fuse. This keeps your brake lights working well.
 Bulb Health And Replacement
Bulb Health And Replacement
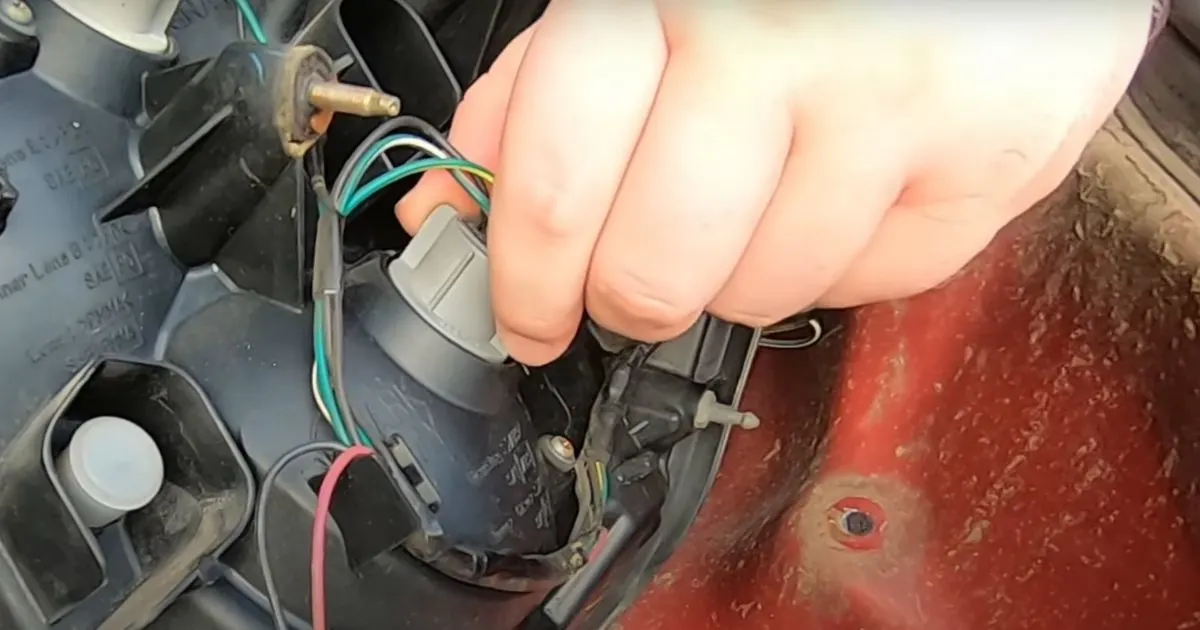
Bulb Health and Replacement is crucial for brake lights. Over time, bulbs can burn out or suffer from wear and tear. This leads to stuck brake lights. Understanding bulb health helps fix this issue quickly. Let's dive into how to check and replace brake light bulbs.
Determining If Bulbs Are The Issue
To start, you need to check if the bulbs are the problem. Follow these steps:
- Turn on your car's ignition. Ask someone to check the lights.
- Press the brake pedal. The helper should see if lights work.
- If lights don't turn on, bulbs might be the issue.
Checking bulb health is easy and fast. It's the first step in fixing brake lights.
How To Change Brake Light Bulbs
Changing brake light bulbs is simple. You need a new bulb and basic tools. Follow these steps:
- Find your car's manual. It shows where the brake light is.
- Open the car's trunk or back panel to reach the light.
- Remove the light's cover. Use a screwdriver if needed.
- Take out the old bulb. Twist and pull it gently.
- Insert the new bulb. Make sure it fits well.
- Replace the cover. Test the new bulb by pressing the brake.
Changing bulbs fixes most stuck brake light issues. It's quick and cost-effective.
Cleaning Corroded Sockets
Stuck brake lights can be a real headache. Often, the culprit is corrosion in the socket. Corrosion can disrupt electrical contact and cause lights to fail. Thankfully, cleaning corroded sockets can restore function quickly.
Identifying Corrosion In Sockets
Visual inspection is key. Look for green or white crust around the metal contacts. This crust is a sign of corrosion and must be removed for proper function.
Cleaning Techniques For Better Contact
Effective cleaning restores contact. Here's how:
- Turn off the vehicle.
- Remove the brake light bulb.
- Use a small wire brush or sandpaper.
- Scrub the contacts gently.
- Apply electrical contact cleaner.
- Let it dry before reassembly.
Reconnect everything and test the brake lights. Bright and responsive lights indicate success.
Adjusting The Pedal Stopper
Stuck brake lights can be both annoying and dangerous. Adjusting the pedal stopper is a quick fix to consider. This component is crucial for brake light functionality. If it's out of place, your lights might not work properly.
Role Of The Pedal Stopper In Brake Light Function
The pedal stopper has a key job. It ensures that the brake light switch activates only when necessary. This happens each time you press the brake pedal. Without it, the brake lights could stay on.
Adjusting Or Replacing The Pedal Stopper
If the stopper is worn or misplaced, you'll need to adjust or replace it. Here's a step-by-step guide:
- Locate the brake pedal assembly.
- Find the pedal stopper. It's near the brake light switch.
- Check for wear or damage.
- If intact, adjust the stopper's position.
- Test the brake lights after adjustment.
- Replace the stopper if needed.
Tighten any loose parts and secure the stopper in place. Ensure the brake lights turn off when the pedal is released.
 Professional Assistance And When To Seek It
Professional Assistance And When To Seek It
Sometimes brake light issues extend beyond simple fixes.
Professional mechanics step in here.
They offer expertise beyond the scope of DIY.
Limitations Of Diy Fixes
DIY can save time and money. Yet, it has limits.
Technical knowledge and the right tools are vital.
Some brake light problems need diagnostic tools and advanced skills.
Finding A Reliable Mechanic For Complex Issues
Choose a mechanic wisely for brake light issues.
Look for certifications and positive reviews.
A good mechanic will solve complex electrical faults efficiently.
- Ask friends for mechanic referrals.
- Check online reviews for local shops.
- Ensure mechanics have the latest equipment.
Frequently Asked Questions
Why Do Brake Lights Stay On?
Brake lights may remain on due to a faulty brake light switch, a stuck brake pedal, or an electrical issue. It's essential to diagnose and fix promptly to ensure safety.
Can A Diy Fix Solve Brake Light Issues?
Many brake light problems can be resolved with simple DIY fixes such as adjusting the brake light switch or replacing burnt-out bulbs. Always consult the vehicle's manual first.
What Causes Brake Lights To Not Turn Off?
A common cause is a misaligned or defective brake light switch. The switch may need adjustment or replacement to restore proper brake light function.
How Do You Test A Brake Light Switch?
Use a multimeter to check for continuity at the switch terminals. No continuity indicates the switch is engaged; continuity suggests the switch is in the off position.
Related Post
Why Clean Car Floor And Doorfront Matter for Vehicle’S Value
Why Third Parties Matter in Car Ownership And Insurance
Top Features to Look for in Registration Plate Lamps
How to Fix Trunk Lamp Not Working on a Car
How Car Center Domes Enhance Vehicle Safety And Comfort
How to Make Your Car Engine Bay Look Nice
Brighten Up Your Drive: The Ultimate Guide to Car Headlights
Conclusion
Wrapping up, tackling stuck brake lights is simpler than it seems. With these five quick fixes, you're now equipped to handle common issues effectively. Remember, regular maintenance keeps your vehicle safe and prevents costly repairs. Drive confidently, knowing you've got the knowledge to fix brake light snags on the go.
Disclosure
Some links may be affiliate links. That means we may earn a small commission at no extra cost to you.